- Administrator access to your Okta account/Dashboard
Okta SSO Setup Guide
To configure Okta SSO, follow the steps outlined below.
Alternatively, you can schedule a call with us — we'll gladly guide you through the setup. Just make sure your Okta Admin joins the session.
Alternatively, you can schedule a call with us — we'll gladly guide you through the setup. Just make sure your Okta Admin joins the session.
1. Requirements
2. Supported features
| 1. | Identity Provider (IdP)-Initiated Authentication (SSO) Flow: This flow is triggered when a user attempts to log in to SELR from the Okta dashboard. |
| 2. | Service Provider (SP)-Initiated Authentication (SSO) Flow: This flow is triggered when a user attempts to log in to SELR from the SELR.ai login page. |
Please note that user federation, role management, and similar features are not supported. Users and their roles within SELR must be managed manually from the SELR settings page, or via the CRM integration.
3. Install the SELR app from the Okta App Directory
| 1. | Login to Okta as an Admin. |
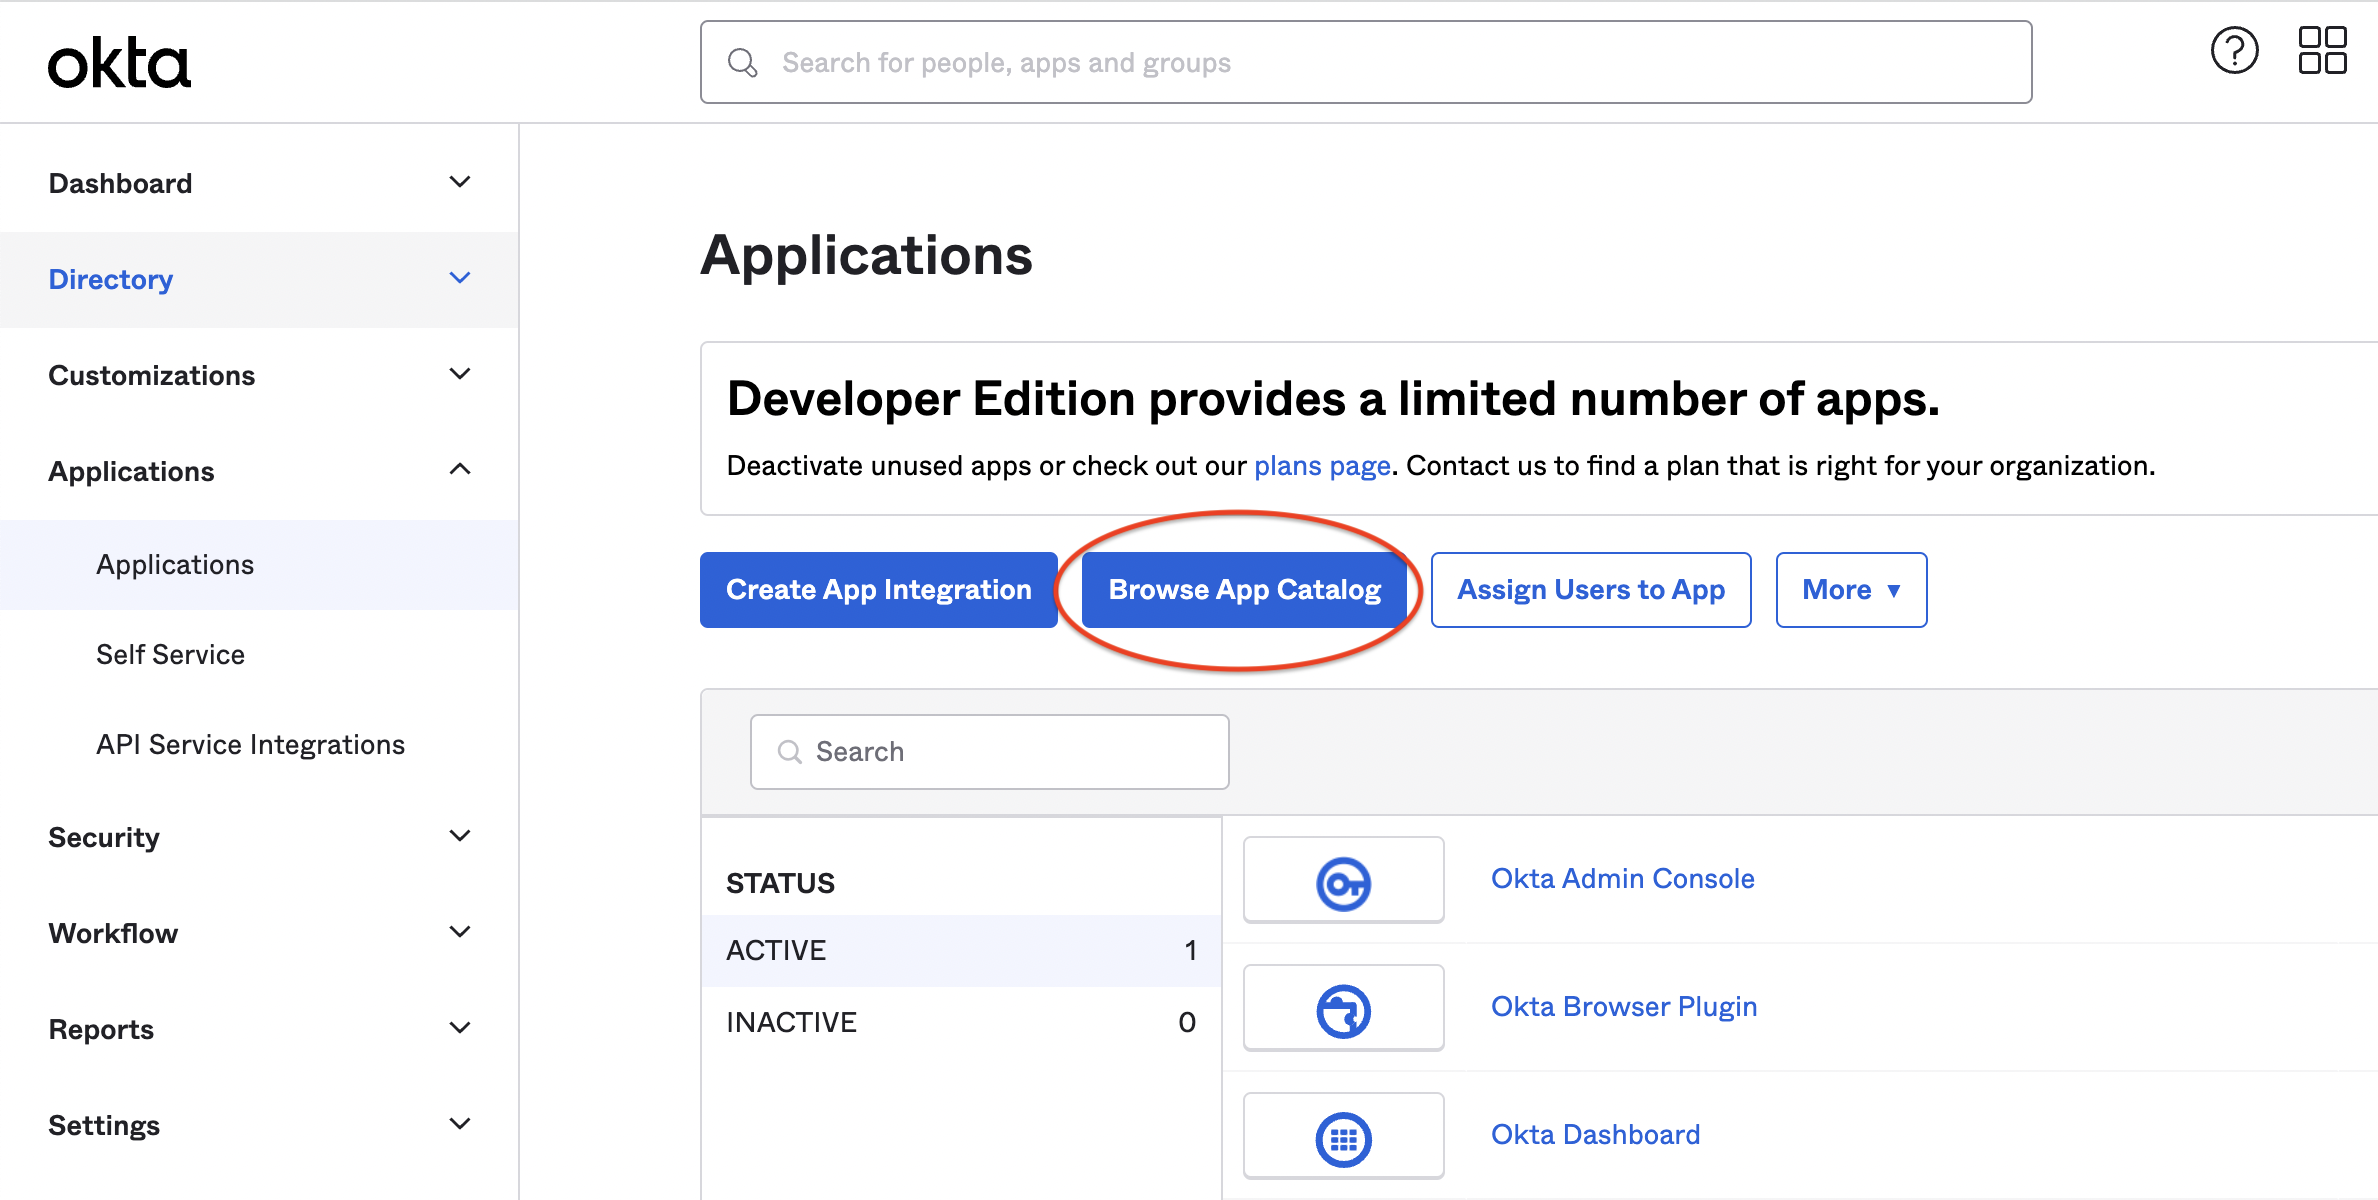
| 2. | Navigate to Applications → Browse App Catalog: |
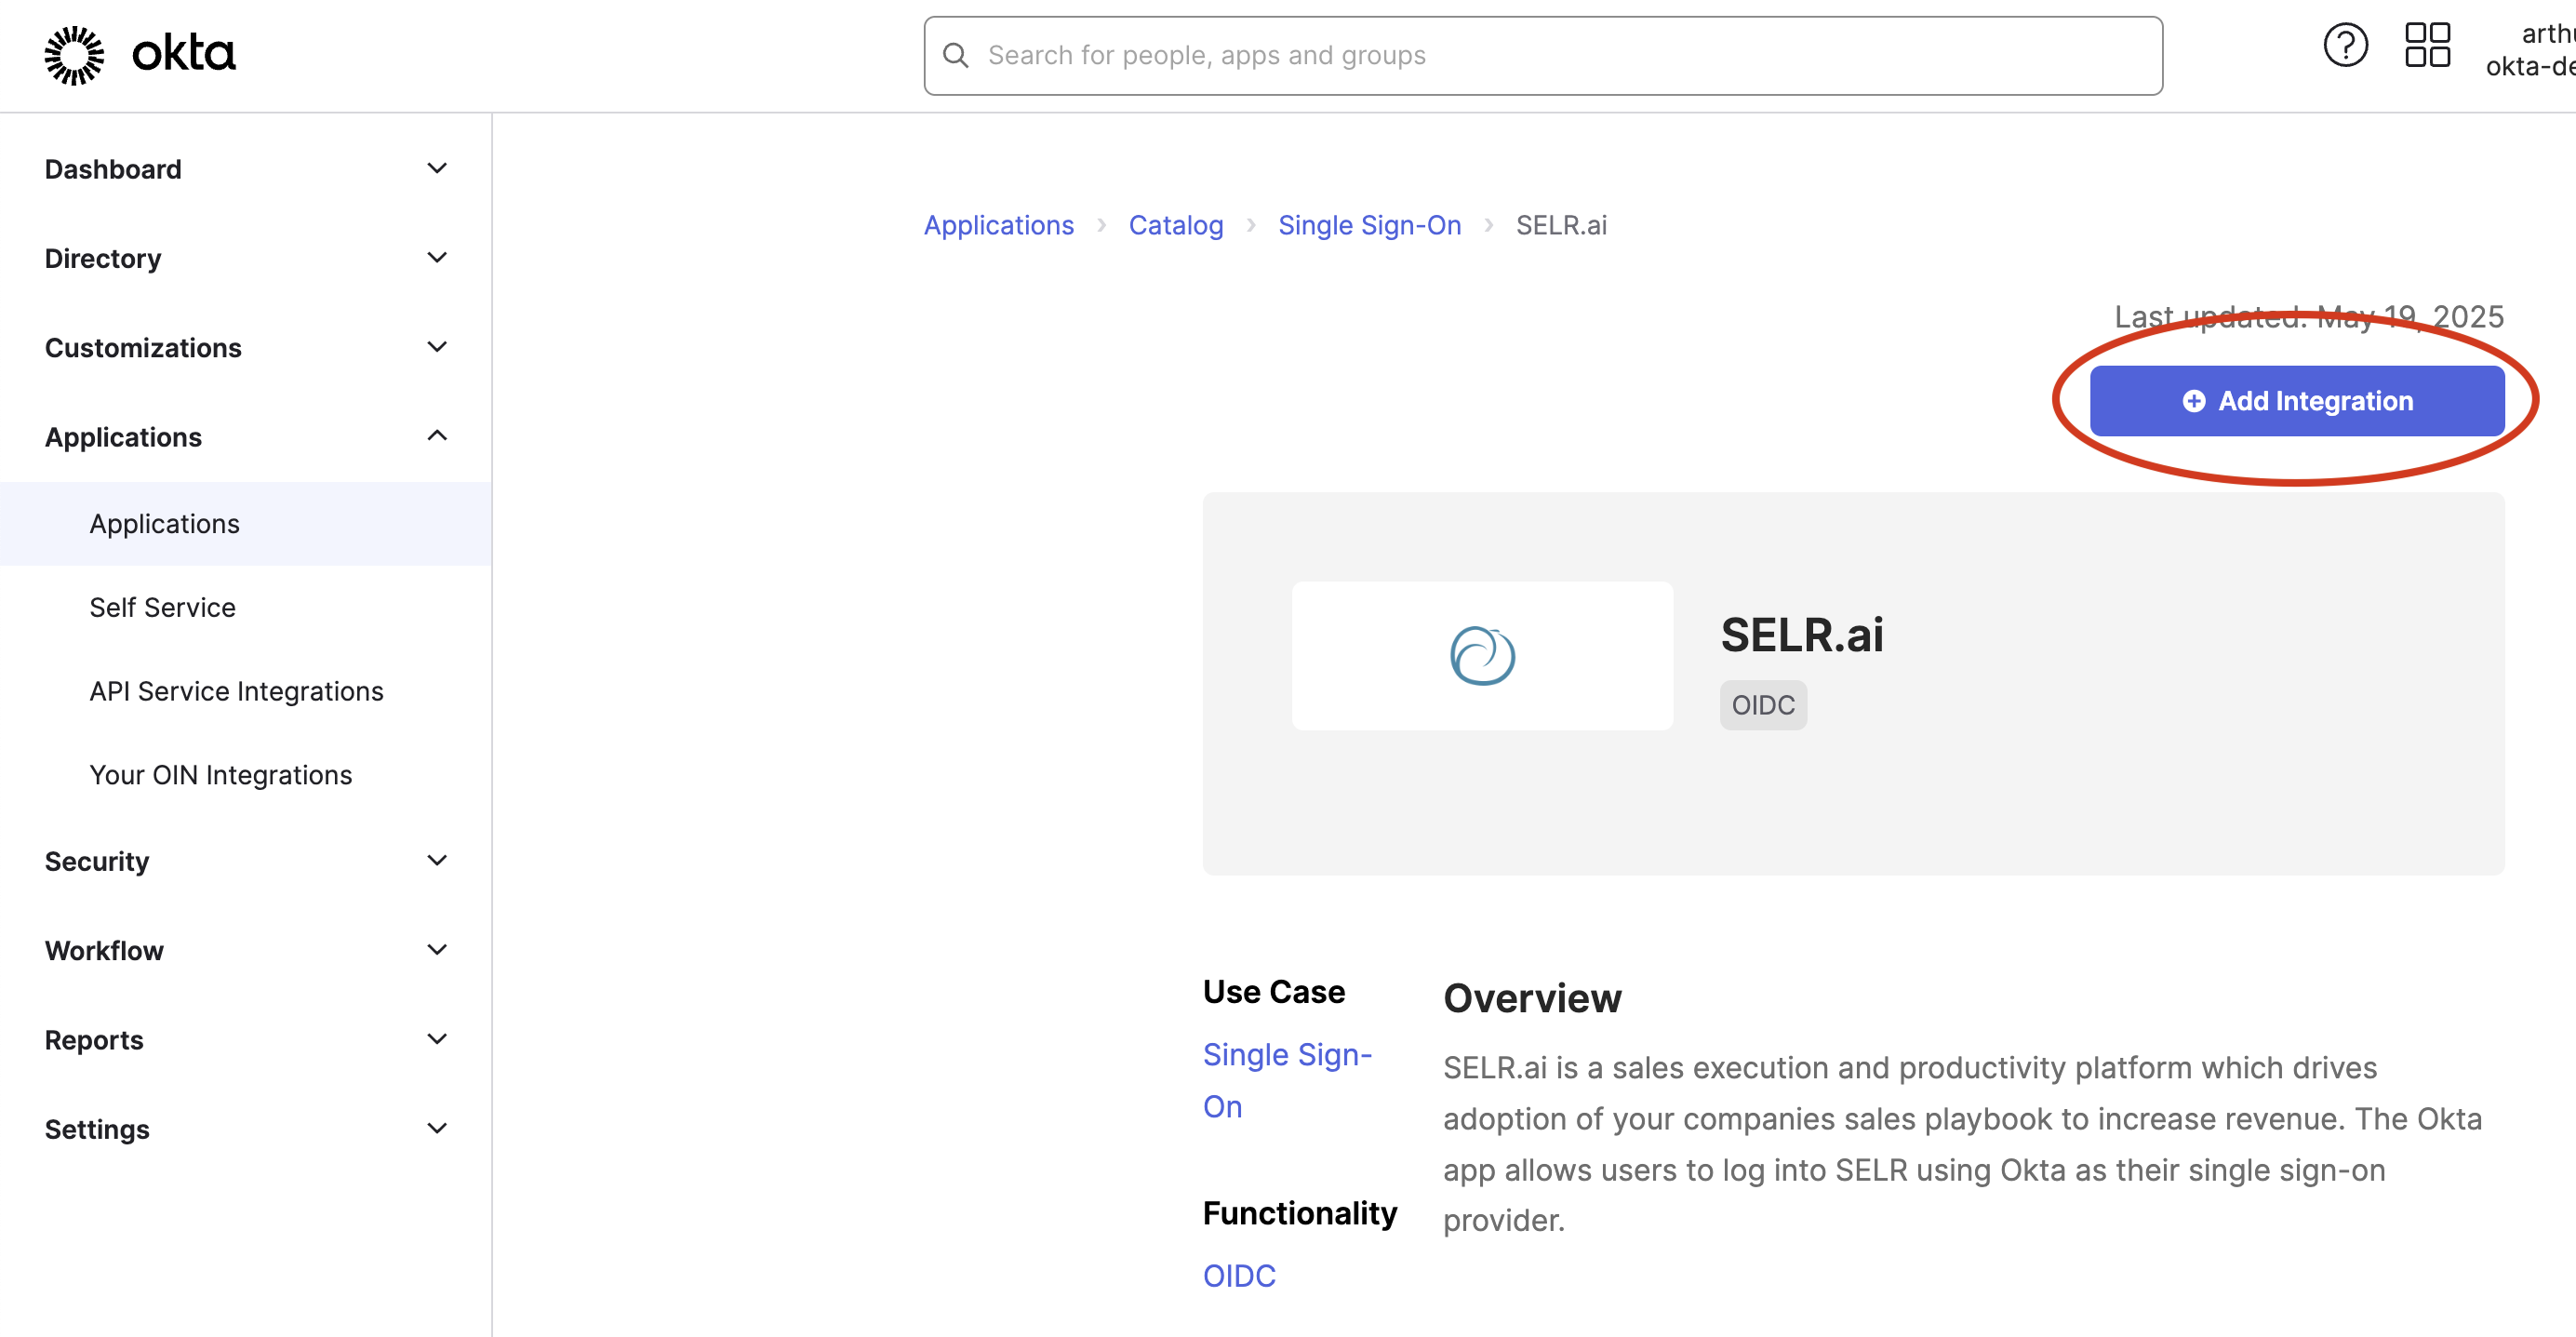
| 3. | Search for SELR.ai and click on the SELR.ai app/logo. |
| 4. | From the SELR.ai App page click the Add Integration button: |
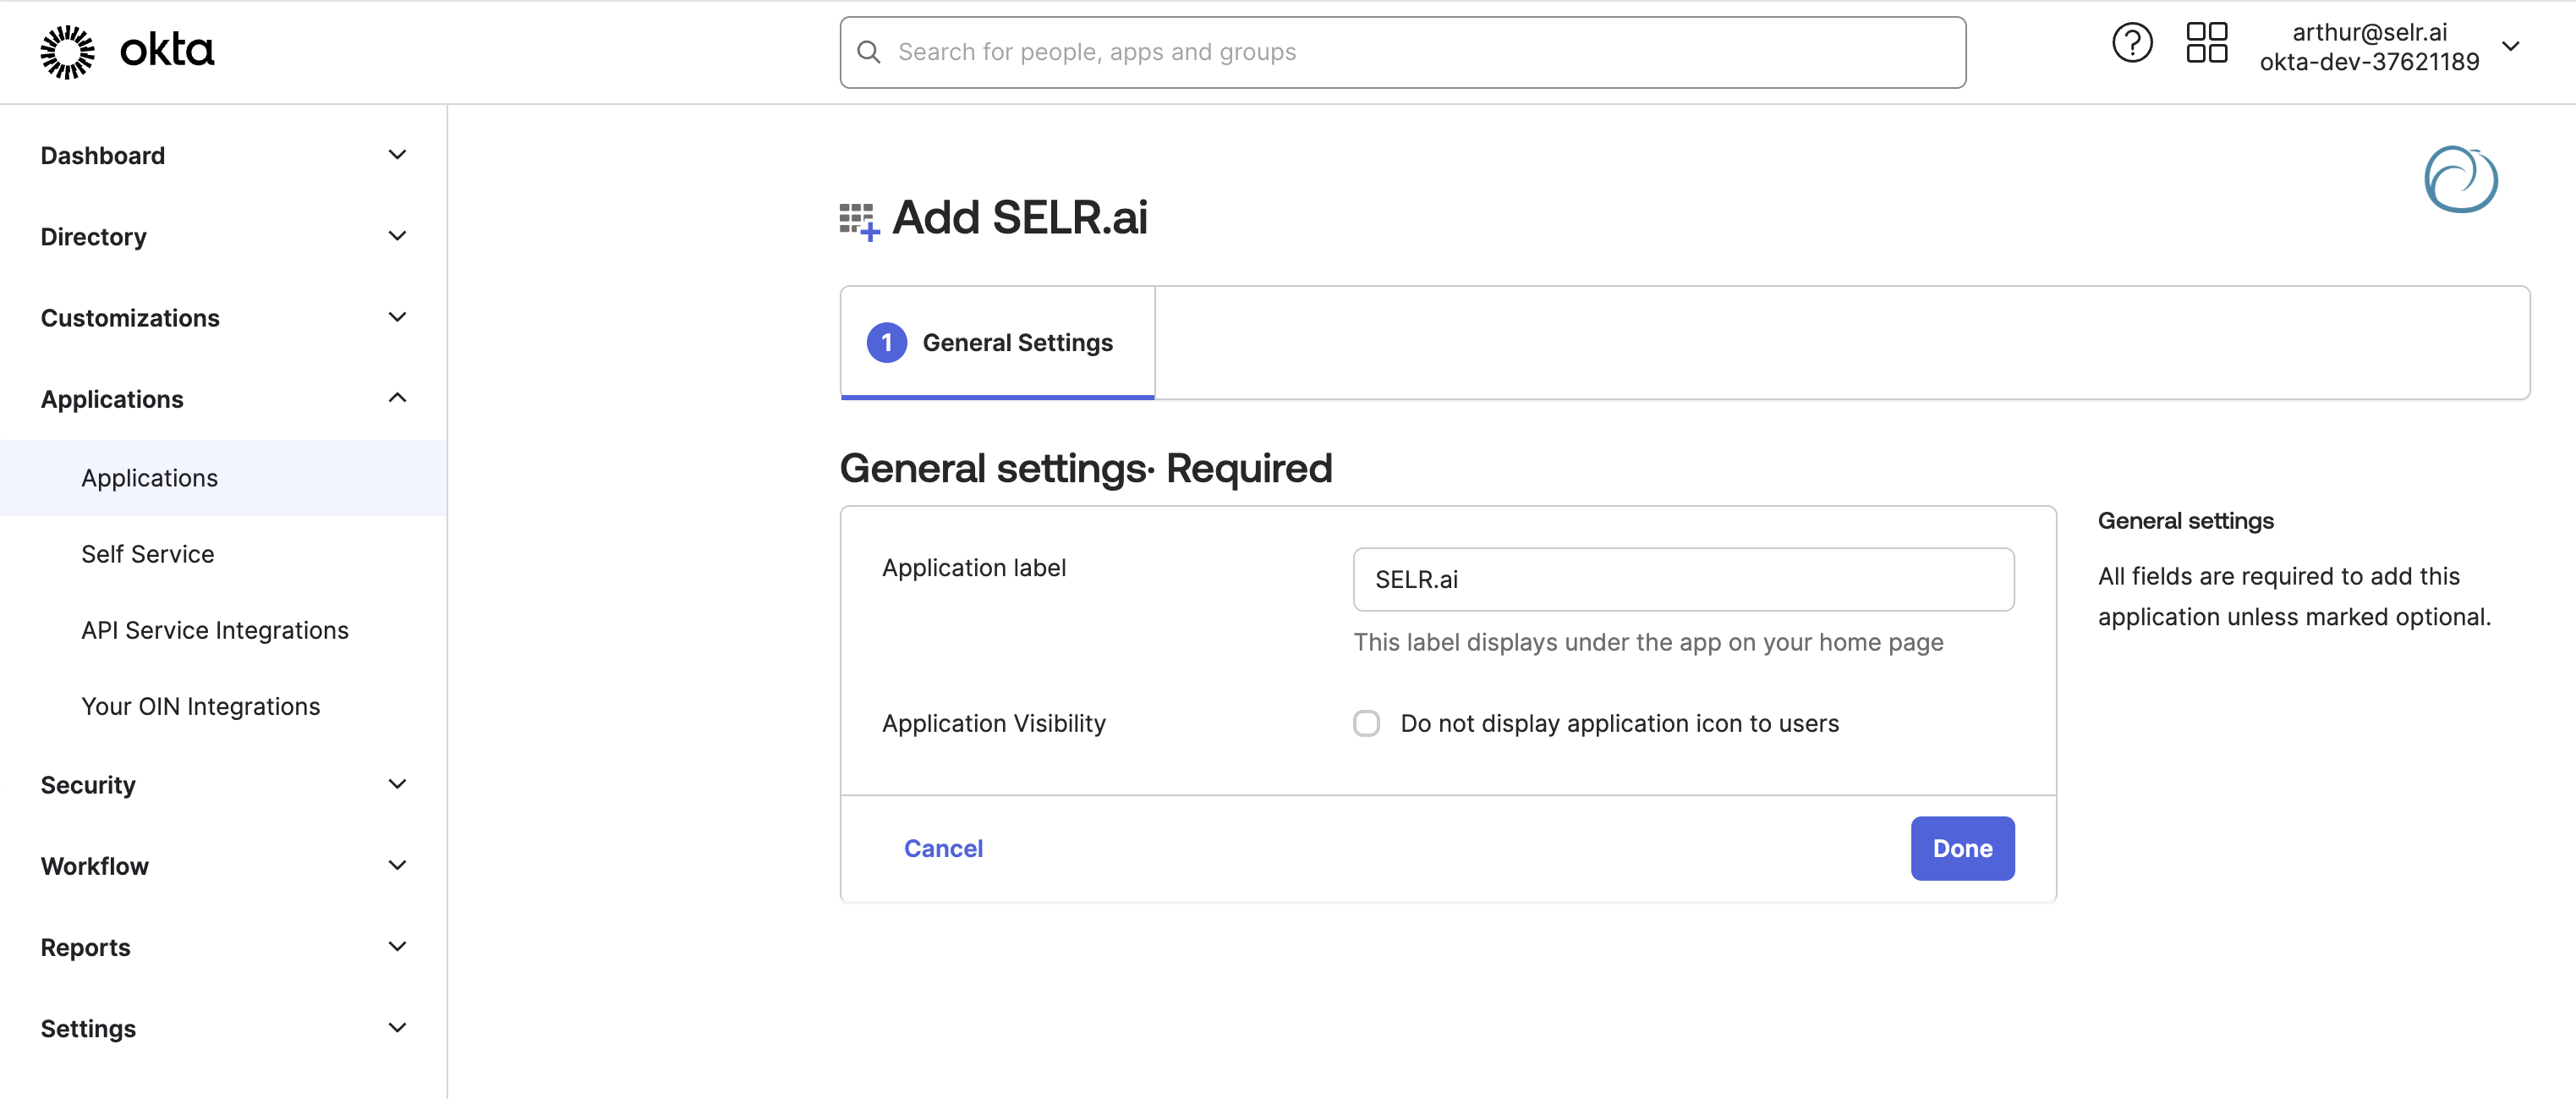
| 5. | Add an Application Label (Suggestion: SELR.ai) and click Done: |
| 6. | After adding the app, you need to assign users to it from the Assignments tab. This step allows users to log into the SELR.ai platform using Okta. To assign users, go to the Assign option on the Assignments page and select Assign to People. If you already have a group set up, you can choose Assign to Groups to assign access to the entire group. |
4. Provide the Okta Domain, Client ID and Client Secret to SELR
The final step is to securely share the Okta domain, Client ID, and Client secret of the application you just created with SELR. Since this is sensitive information, it is important to transmit it using a secure method. Recommended approaches are outlined below.
The Okta domain is usually something like https://<your org>.okta.com and can be found at the top right of Okta:

To share your Okta domain, Client ID and Secret with us, you're welcome to use any one-time secret tool or secure communication method you prefer.
If you don't have a preferred tool, we recommend using https://onetimesecret.com.
Please paste the Okta domain, Client ID and Secret on separate lines, set an appropriate expiration time, and send the generated link to both your SELR.ai contact and support@selr.ai.
If you choose to password-protect the secret, feel free to send the password via a separate channel (e.g., Slack, Zoom, etc.).
Once we receive the Okta domain, Client ID, and Secret, we'll configure the SSO login method on our side to use this setup for your domain.
We generally coordinate enabling SSO with you to ensure a smooth rollout — you can notify and support your users through the transition. This can be done either asynchronously or at a scheduled time that works best for you.
5. Sign in to SELR via SSO from Okta (IdP)
To use the IdP-initiated authentication flow with SELR through Okta, follow the steps below:
| 1. | Ensure the appropriate Okta users and/or groups have been assigned the app (see section 3.6 above) |
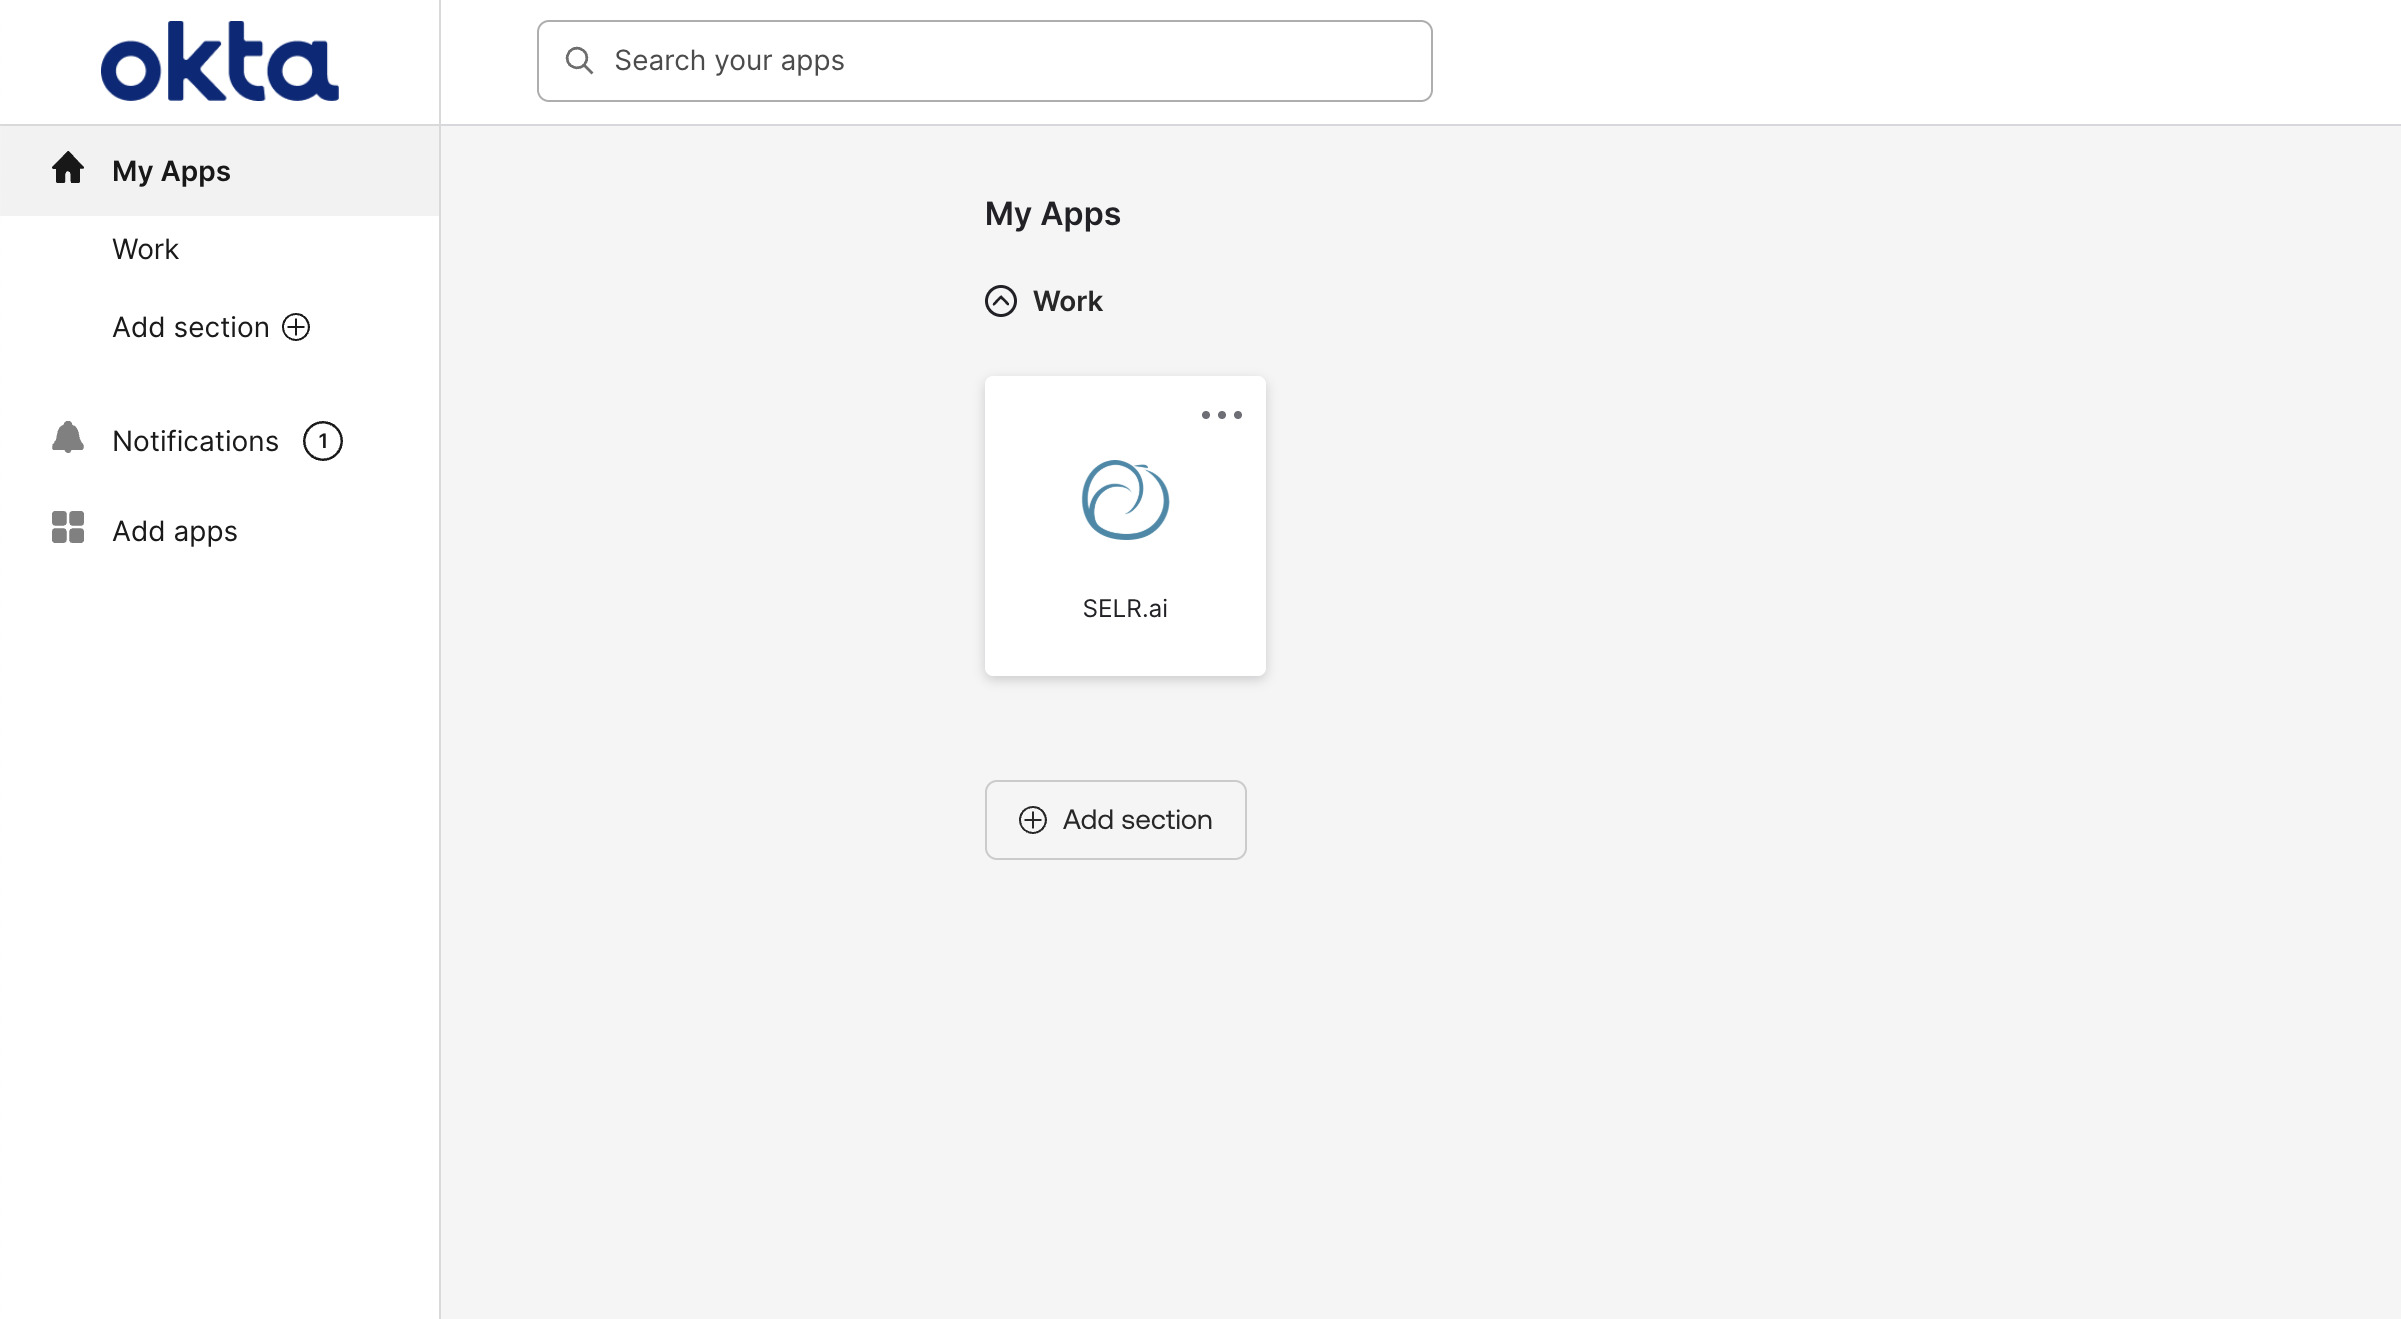
| 2. | Once set up, you can sign in to SELR by clicking the app link in the Okta Dashboard. You will be signed in to SELR and redirected directly to your SELR home screen: |
6. Sign in to SELR via SSO from SELR Login screen (SP)
To sign in to SELR via SP-initiated authentication flow, see below:
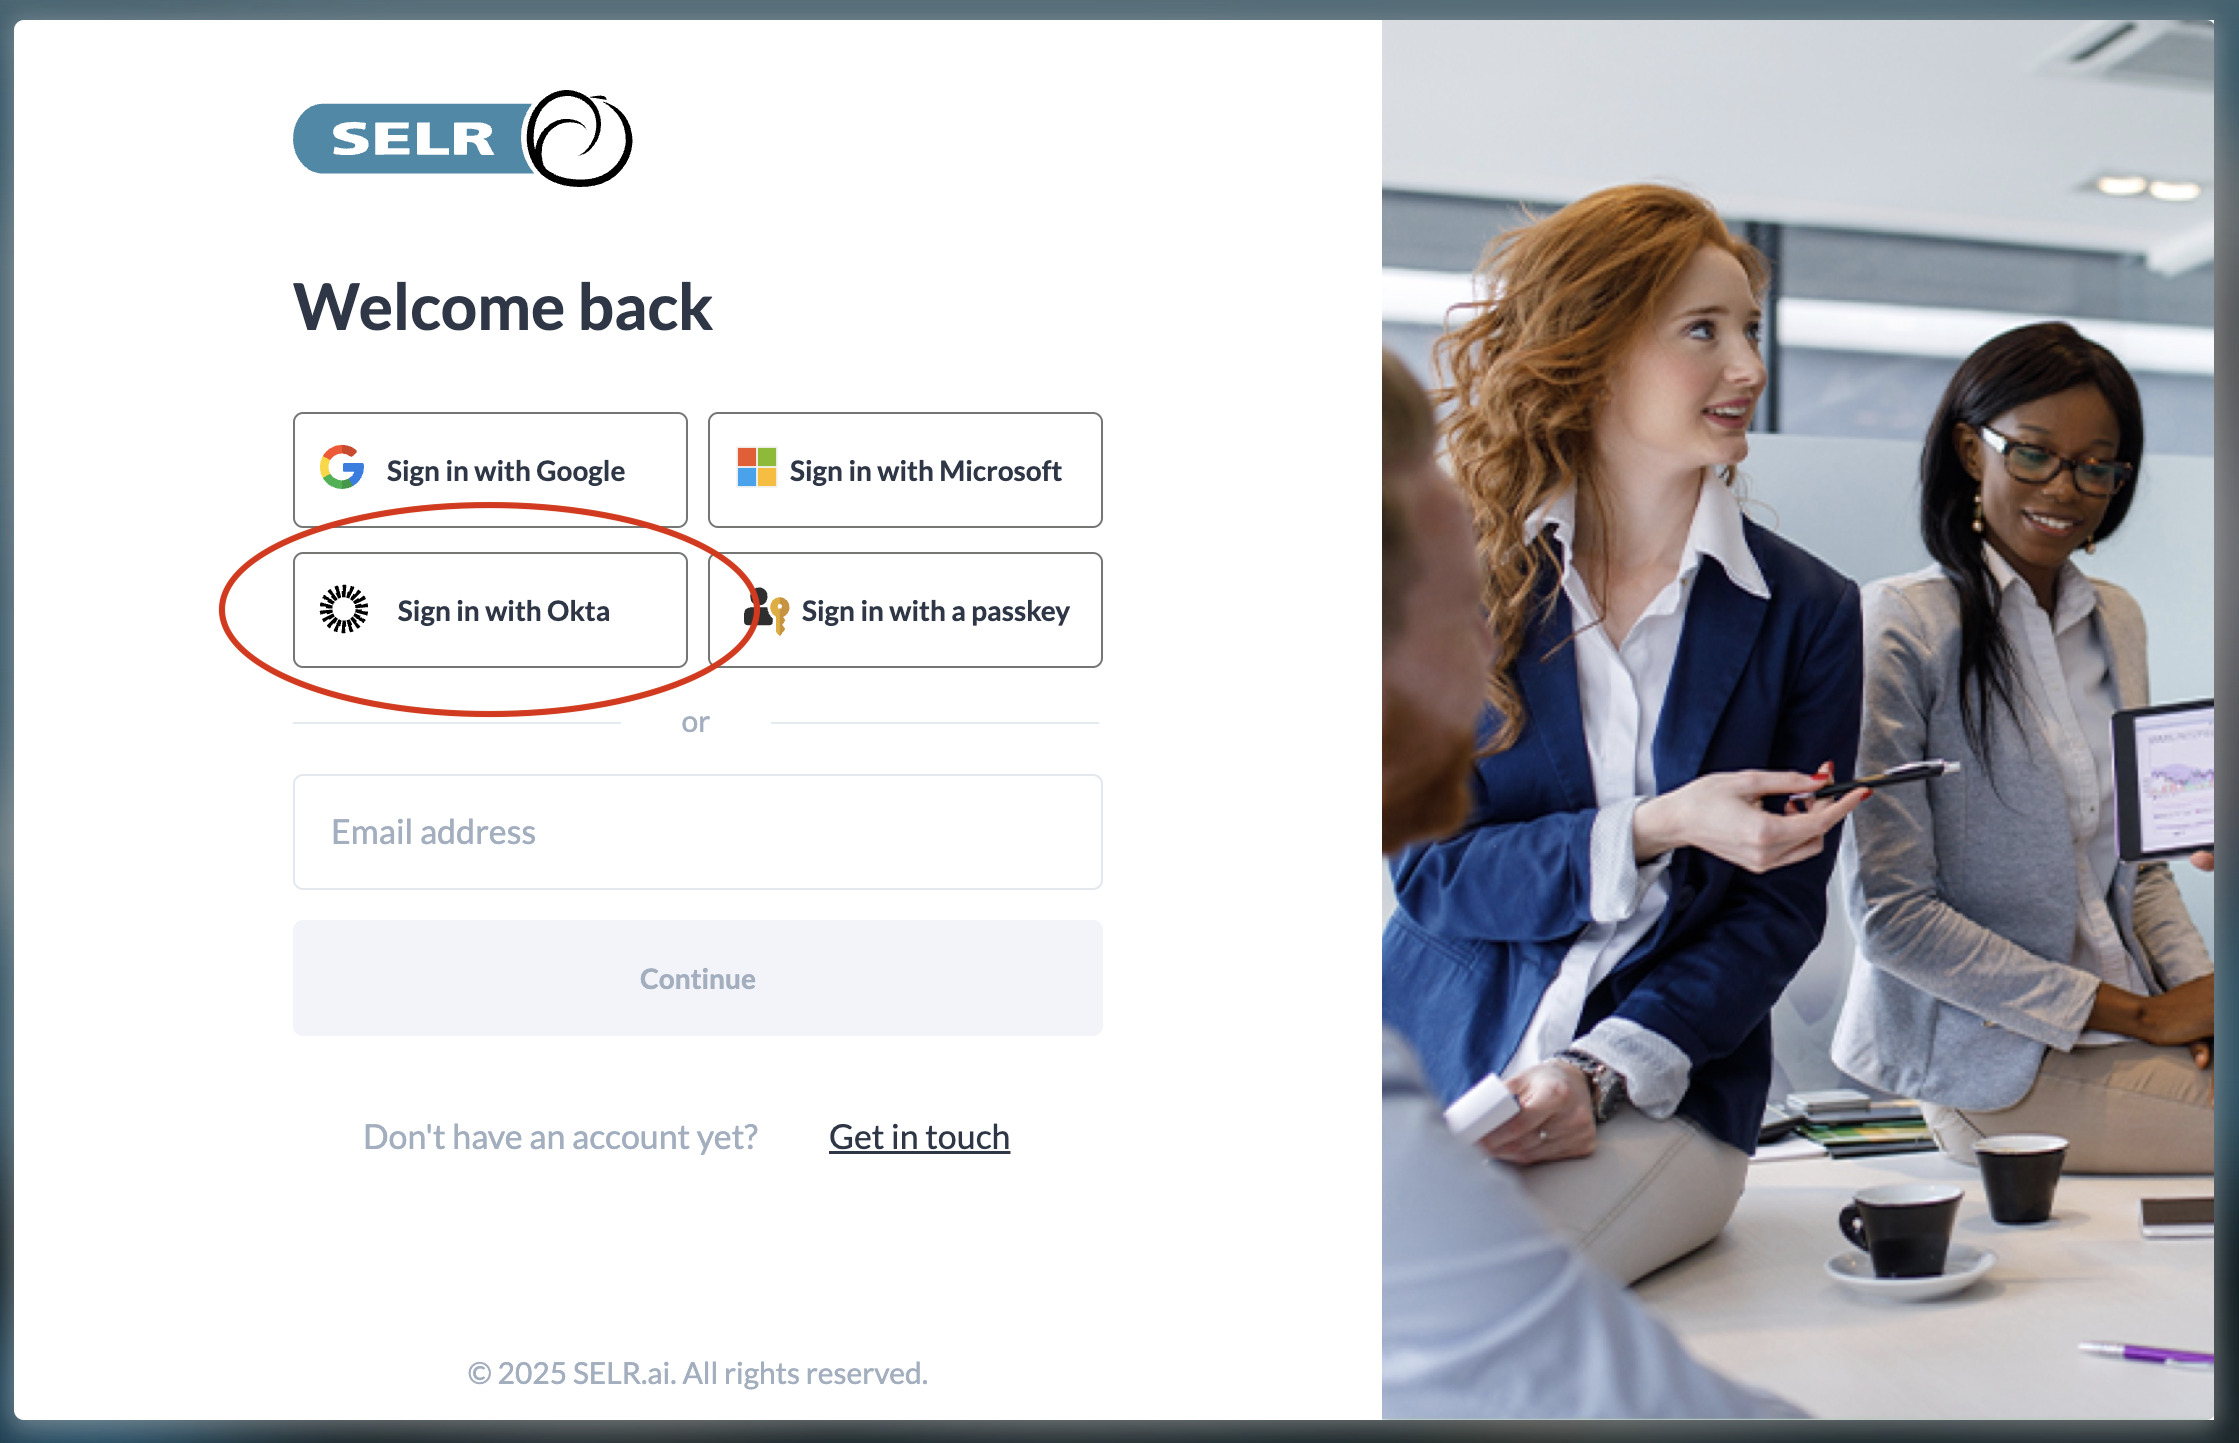
| 1. | After completing all the steps above, simply goto the same SELR Login page (https://login.selr.ai) and click the Login with Okta button: |
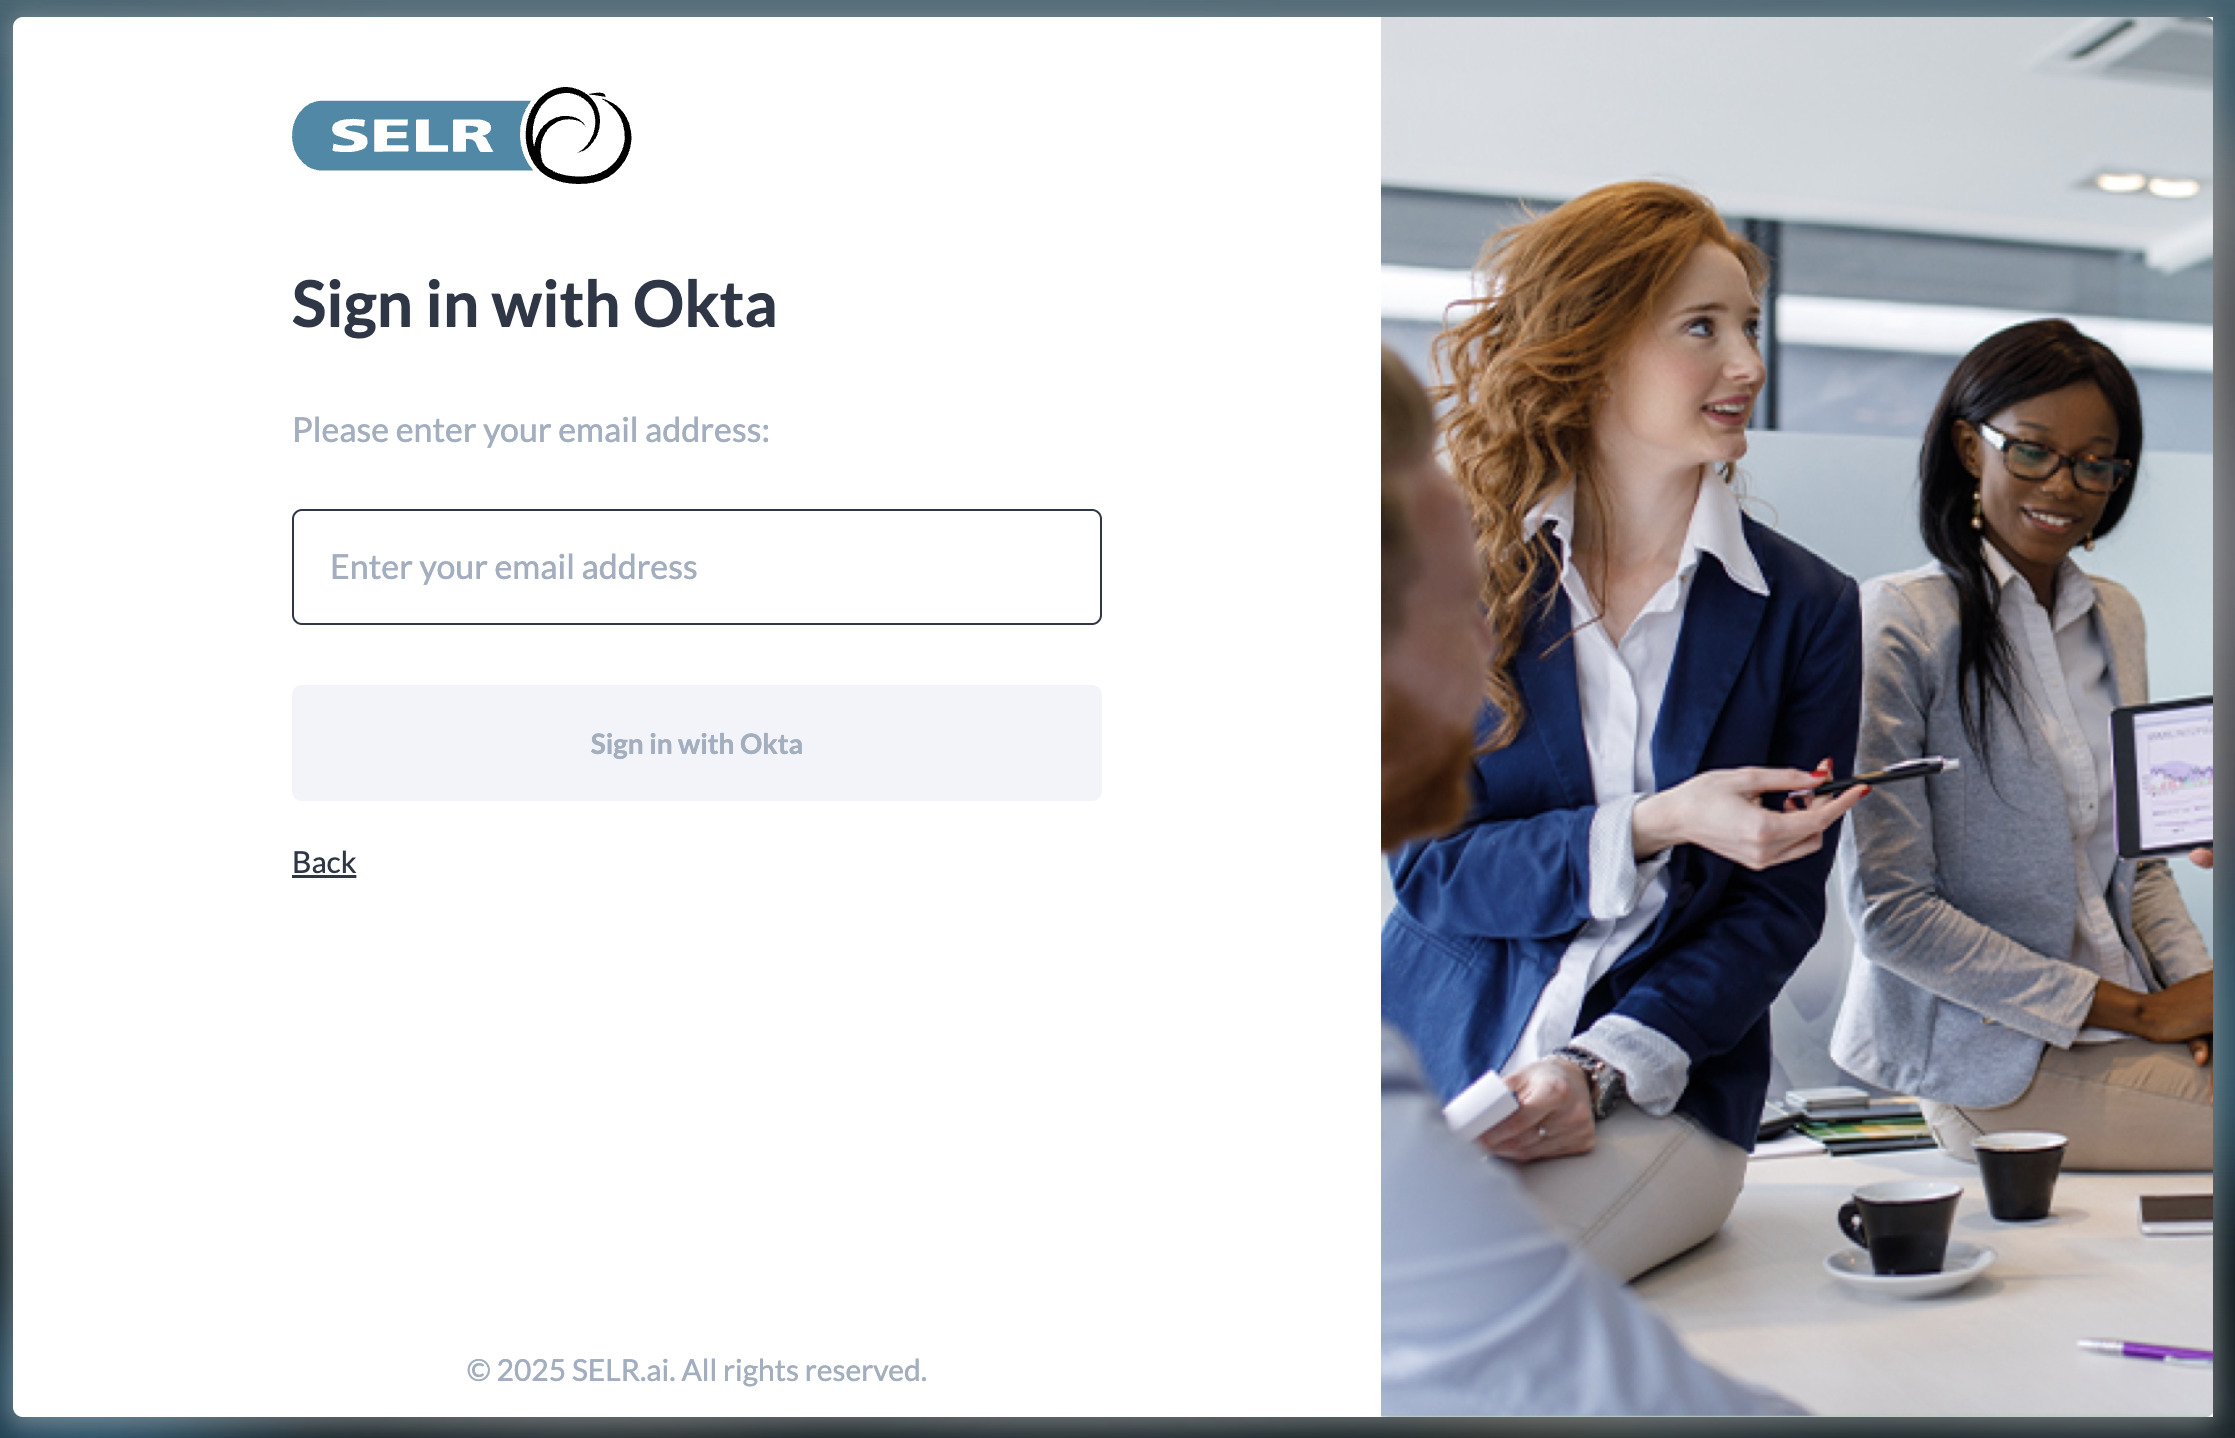
| 2. | Enter your email address (it must match the one you use to log in to Okta), then click the Sign in with Okta button: |
| 3. | If you're not already signed in to your Okta account, you'll be redirected to the Okta login page. Enter your credentials to complete the sign-in process. |
| 4. | You will now be signed in to SELR and redirected to your SELR home screen. |